
how to make a tank out of a t-shirt pattern
Our dear friend Brittney is no stranger to the blog, as she's contributed numerous guest posts over the years. Her favorite project with the School Bus T-shirt pattern has been putting it to use around 70 times! Today, she’s back to share another fantastic customization idea—perfect for those warm summer days. Thank you, Brittney, for this awesome tutorial!
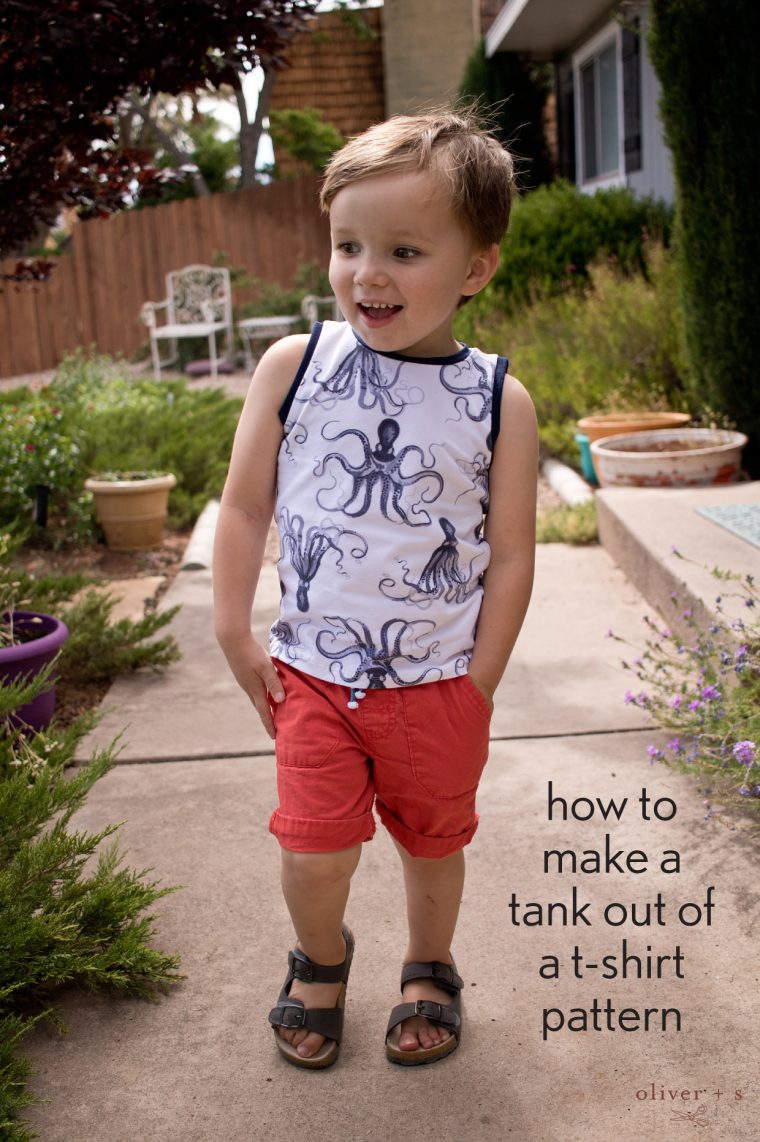
I absolutely adore the School Bus T-shirt pattern—it’s one of my go-to designs! While I do occasionally stick to the original design, I often tweak it in some way. I’ve experimented with adding a hood, turning it into a dress-up cape, creating a cardigan, even transforming it into a dress. I’ve also tried adding faux long sleeves, making a rash guard version, color-blocking, and now, finally, converting it into a tank top. It’s such a versatile pattern that gives you endless possibilities.
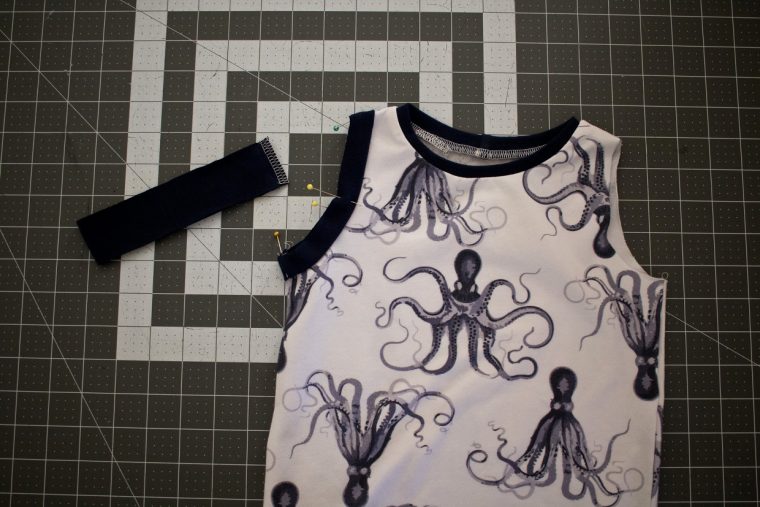
To convert the School Bus T-shirt pattern into a tank top, begin by modifying the front and back pieces. Since I was making this for a boy, I decided to keep the straps fairly wide. To achieve this, I removed just a small amount from the armscye, starting at the shoulder and following the curve down to the underarm, matching the original pattern's shape.
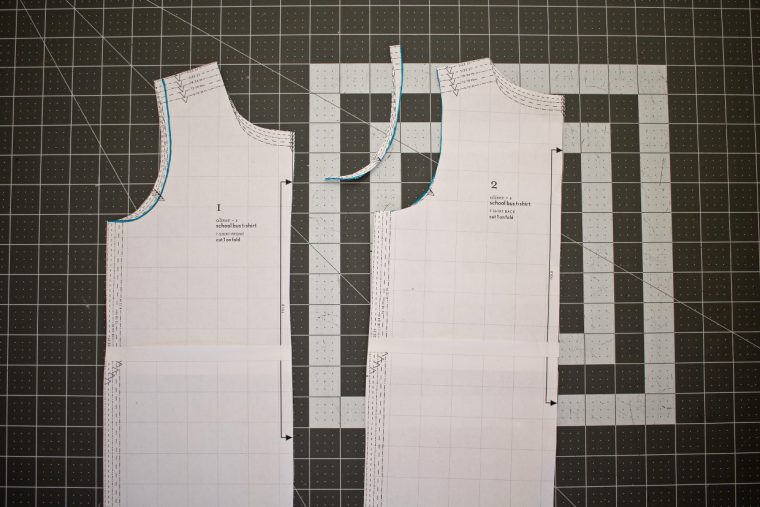
Once you've adjusted the pattern pieces, cut out the front, back, and neckband using the new templates. We'll discuss the arm bands a bit later.
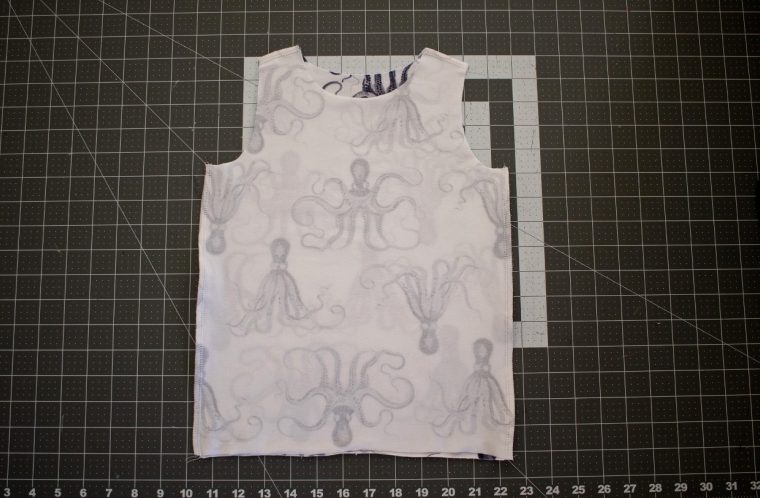
Next, sew the shoulder and side seams together with the right sides facing each other.
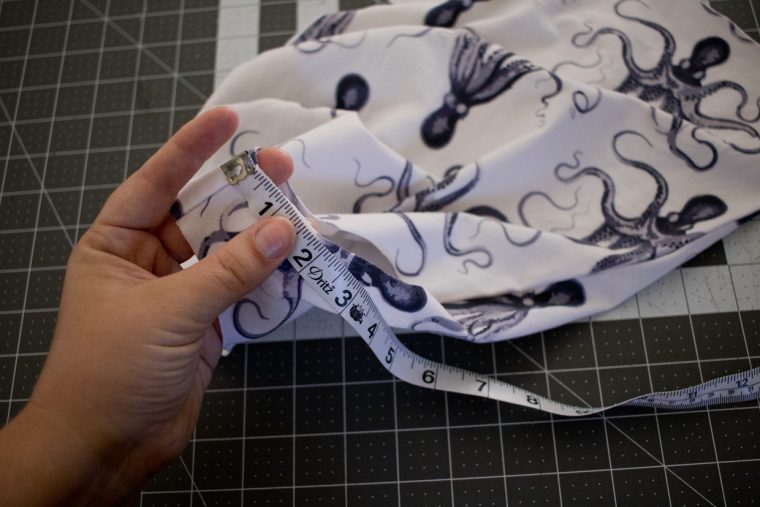
Flip the garment right-side-out and press it thoroughly. Measure the arm opening starting from the shoulder and multiply the measurement by .90. For instance, if you're working with a size 3T and your arm opening measures 14 inches, then 14 x .90 equals 12.6 inches. I opted to make my arm bands the same width as the neckband.
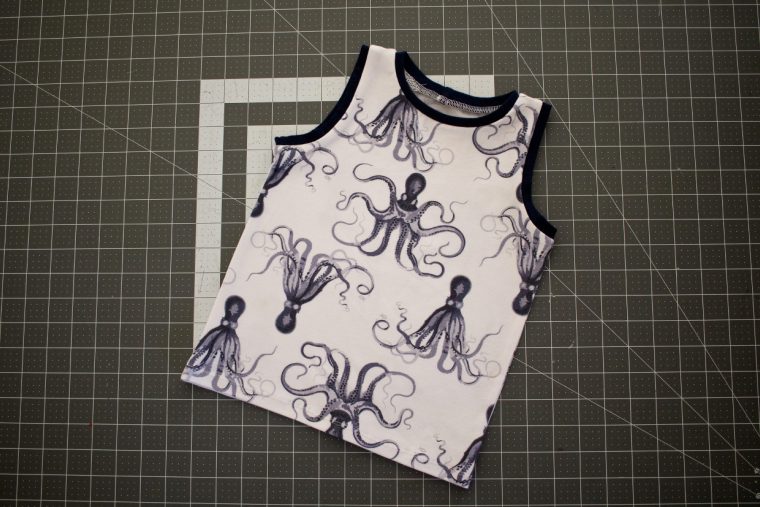
Sew the neckband and two arm bands together with the right sides facing each other. Turn them right-side-out, fold them in half, and press them flat. Match the center back and center front of the shirt to the neckband, pin them in place, and sew the neckband onto the shirt. Repeat the process for the arm bands, but these don't require as much stretching as the neckband. Press everything well. For more detailed instructions, refer to Step 4 in the pattern.
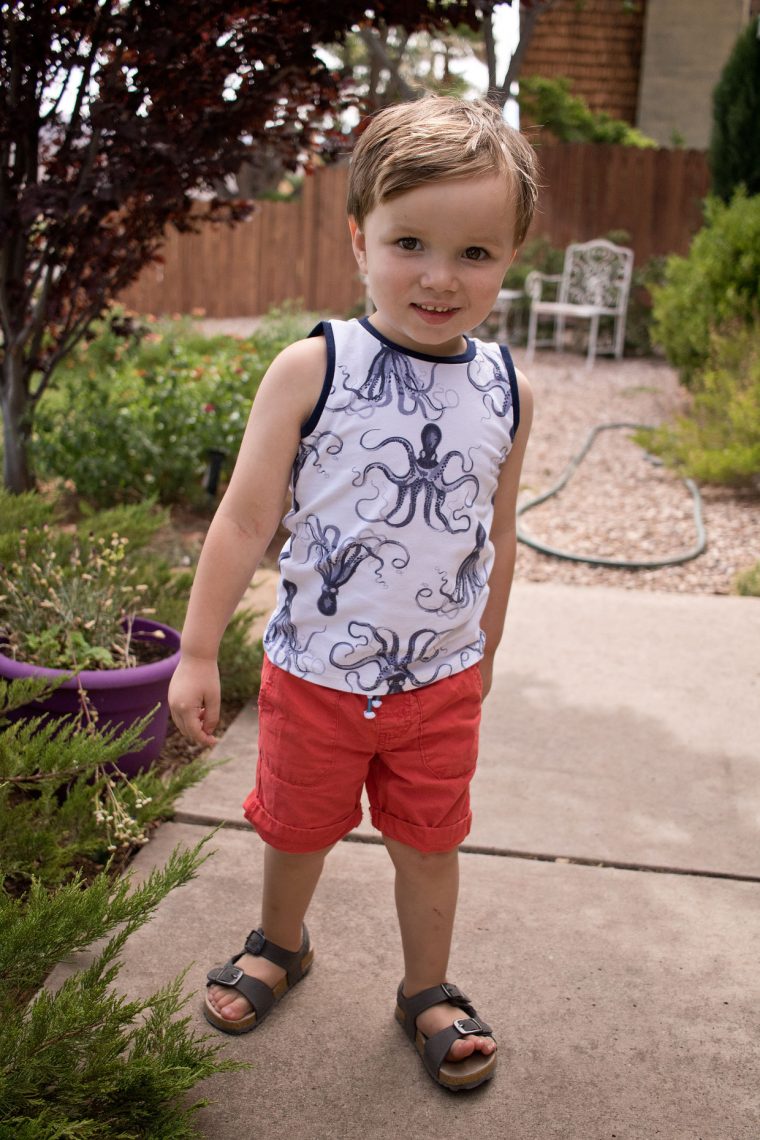
Fold the hem of the shirt under and stitch it in place. And just like that, you’ve completed this simple yet stylish modification!
If you're looking for even more creative ways to transform a t-shirt, check out our "Twenty T-shirt Tutorials" post for inspiration.
---
As always, we hope you enjoyed this project and found it helpful. Don’t forget to share your creations with us—tagging us on social media can help inspire others too! Let’s keep the creativity flowing.
Looking forward to seeing what you make next!
As baseball cap,we have many different models and designs,in order to meet different friends special requirements.
Also we support OEM & ODM design.
We have unisex baseball cap,women baseball cap,men baseball cap ,child baseball cap etc.
Welcome to contact with us .
Most Popular Baseball Caps,Baseball Caps For Men,Black Baseball Cap,Mlb Cap
Yantai Belief Cap Co.,Ltd. , https://www.beliefcap.com